Creating Ratintoh.dev
Recently I was browsing through the perks included with the GitHub Student Developer Pack and noticed something interesting: a free .dev domain for one year from Name.com. Naturally, I claimed it immediately.
So now I had a domain: ratintosh.dev.
The next step was figuring out how to actually host something on it.
I already had a free server running through Oracle, so I created a new instance to host the site. I accidentally chose Oracle Linux as the base image, because I was clicking through the setup without reading (oops). That decision would come back to haunt me later.
With the server ready, I started looking into how to host a website. From what I read, it looked fairly straightforward. Point nginx to the SSL certs, host the site with nginx, and then add the IP to the A record.
But before I could even do that, I ran into my first obstacle: SSL.
The SSL nightmare
For whatever reason, HTTPS is basically mandatory on my domain. My domain provider was kind enough to include a free SSL certificate, which sounded great! (in theory).
But in practice, it was probably more confusing than using something like LetsEncrypt.
They asked me for a Certificate Signing Request (CSR). I generated one on the server, submitted it to them, and after a few minutes they sent me back two blobs of plaintext: a server certificate and a CA certificate.
And that was it.
No instructions. No explanation of where the files were supposed to go or how to use them.
Most guides online were using Certbot with Let’s Encrypt, which automatically handles everything. Since I wasn’t doing that, a lot of tutorials just weren’t helpful.
So I put the SSL problem aside for the moment and decided to at least get nginx installed.
Installing nginx
Installing nginx itself was easy enough:
dnf install nginxDone.
But then came the process of actually configuring it.
The guides I found online were telling me to place certificates in directories that didn’t exist on my system. So I created them manually and updated nginx.conf to point to the certificate files.
Then I tried starting nginx.
It didn’t work.
At first I assumed it was a simple permissions issue. nginx couldn’t read the certificate files, so I tried the usual fixes:
- changing file permissions with chmod
- changing ownership with chown
- moving the files to different directories
- making sure the nginx user had access
Everything looked correct, but nginx still refused to read the files.
I was completely confused.
After several hours of digging through the internet , I finally stumbled across a comment mentioning SELinux.
The SELinux problem
It turns out Red Hat–based systems (which includes Oracle Linux) have an additional security layer called SELinux. Even if file permissions are correct, SELinux can still block services from accessing files if the security context isn’t right.
Most tutorials never mentioned this because most people were doing these setups on Debian or Ubuntu, where SELinux isn’t usually involved.
Once I updated the SELinux context for the directory holding the certificates, I restarted nginx again.
And finally…
It worked.
I was greeted by the default nginx HTML page.
After several hours of debugging, that default page felt like a huge win to me.
At that point I was exhausted, but I wanted to go one step further and host a simple test page.
That’s when I discovered another issue: my nginx installation wasn’t structured like the examples I kept seeing online.
Most guides referenced directories like:
/etc/nginx/sites-available
/etc/nginx/sites-enabled
But on my system those directories didn’t exist.
After some more digging, I learned that this layout is mostly used on Debian-based systems. Since I installed nginx through dnf, the configuration structure was different.
At this point I called it a night.
Fixing it the next day
The next day I came back with and decided to just recreate the structure most guides expected.
So I:
- created a /var/www/ directory for site files
- added sites-available and sites-enabled
- created a new nginx config for my domain
- symlinked it into sites-enabled
- pointed it to my SSL certificates
After a bit more troubleshooting (and more SELinux adjustments), everything finally worked.
I could now serve my own index.html from ratintosh.dev.
Initially I just wanted to put up a quick “under construction” page.
But that quickly turned into experimenting with styles, which somehow turned into building the entire site.
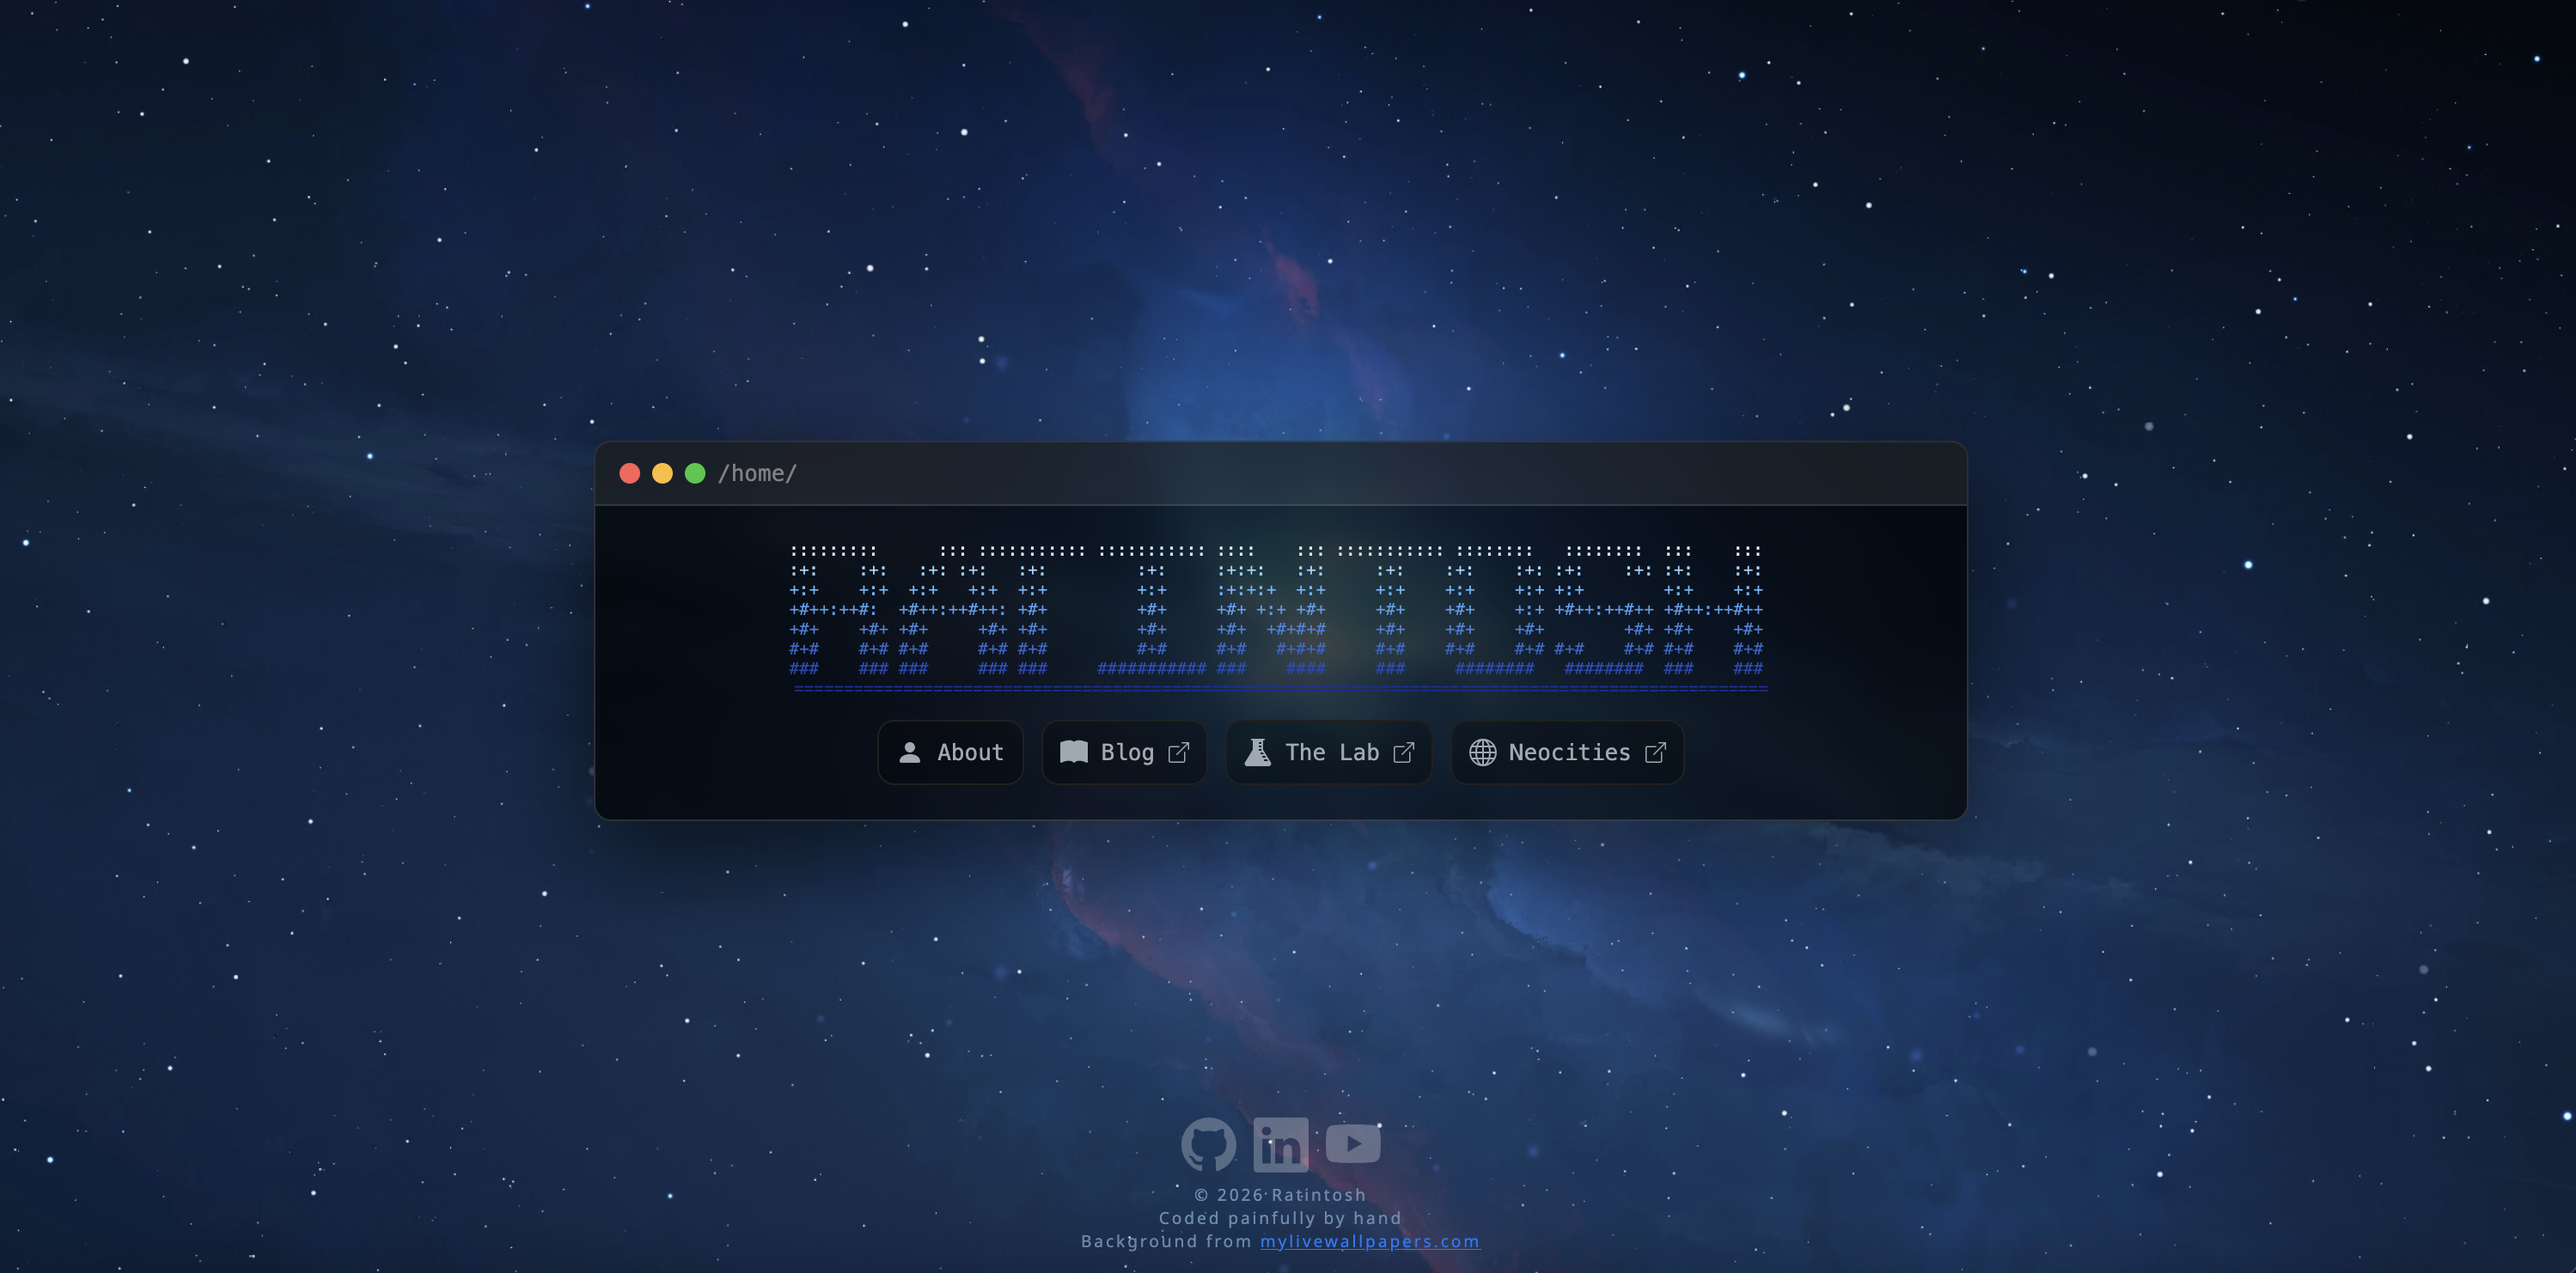
The result is the website you can see below:
Final thoughts
What started as "I'll just set up a simple page" turned into several hours of debugging nginx, figuring out SSL certificates, and learning about SELinux the hard way.
Also, Oracle Linux is... interesting. I might switch to something else in the future.
But at least the site works now.
Even if the process was painful.